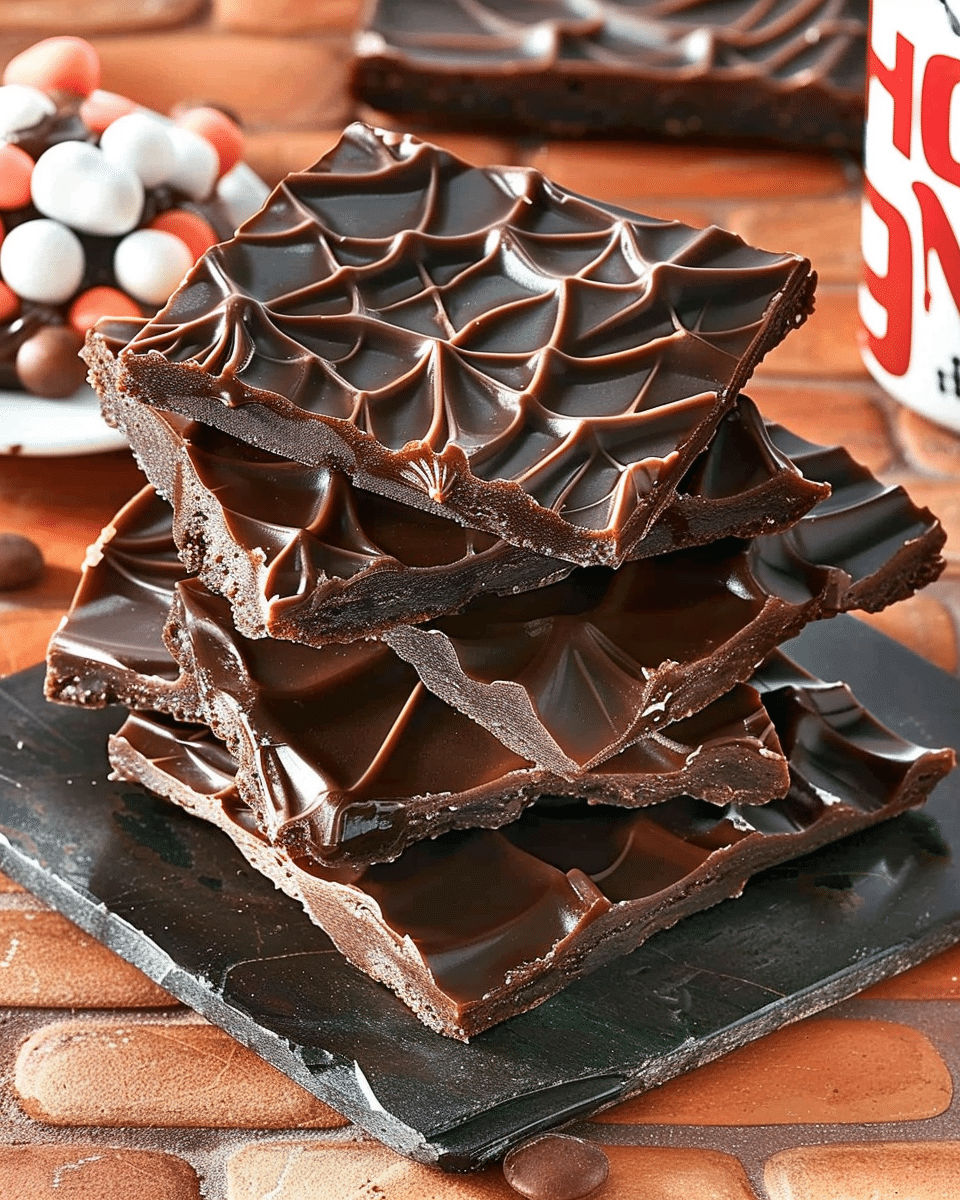
Spiderweb Bark is a fun, festive Halloween treat that combines the rich flavor of chocolate with a spooky spiderweb design. I love making this recipe because it’s quick, creative, and perfect for parties or gift bags. The dark chocolate base and white candy webs create a dramatic contrast that always impresses. Plus, it’s an easy, no-bake dessert that can be customized with your favorite toppings.
Why I’ll Love This Recipe
I love how easy and eye-catching this Spiderweb Bark is. The process of swirling melted chocolate and piping out little spiderwebs feels creative and festive. I also like that it’s a great project to make with kids—simple enough to do together but still produces a show-stopping result. The combination of dark chocolate and sweet white candy melts gives it a balanced flavor that satisfies both kids and adults.
Ingredients
(Tip: You’ll find the full list of ingredients and measurements in the recipe card below.)
12 to 16 whole chocolate graham crackers (enough to cover a large rimmed baking sheet in a single layer)
12 ounces dark cocoa candy melts
1 cup white candy melts
Red jumbo nonpareils or red candy decorations (for “eyes”)
Directions
Line a large rimmed baking sheet with parchment paper. Arrange the chocolate graham crackers in a single layer, covering as much of the pan as possible. Break the crackers to fit along the edges if necessary.
In a microwave-safe bowl, melt the dark cocoa candy melts in 30-second increments, stirring after each burst until completely smooth.
In a separate bowl, melt the white candy melts the same way until smooth.
Pour the melted dark cocoa candy over the graham crackers and spread it evenly with an offset spatula or the back of a spoon, creating a smooth surface.
Spoon the melted white candy melts into a small resealable plastic bag or piping bag. Snip off a tiny corner of the bag to create a small opening.
Pipe four to five concentric circles on top of the dark chocolate layer in one section of the bark. Then, use a toothpick to drag lines from the center of the circles outward, forming a spiderweb pattern. Repeat across the bark until the entire surface is covered with webs.
While the chocolate is still wet, press red jumbo nonpareils into the bark to resemble spooky red eyes.
Place the baking sheet in the refrigerator and chill for about 15 minutes, or until the chocolate has set completely.
Once firm, remove from the fridge and break the bark into pieces of your desired size.
Servings And Timing
Yield: About 16 servings
Prep Time: 20 minutes
Chill Time: 15 minutes
Total Time: 35 minutes
Variations
I sometimes use milk or semi-sweet candy melts instead of dark cocoa for a milder chocolate flavor.
For a colorful twist, I drizzle orange, green, or purple candy melts over the webs before chilling.
Adding crushed pretzels, toffee bits, or nuts gives the bark a nice crunch.
If I want a sweeter, cookie-like base, I use vanilla wafers or honey graham crackers instead of chocolate ones.
For a more “creepy” look, I use edible candy eyeballs instead of red nonpareils.
Storage/Reheating
I store the spiderweb bark in an airtight container at room temperature for up to 1 week. If my kitchen is warm, I prefer to keep it in the refrigerator to prevent melting. When stored in the fridge, I let the bark sit at room temperature for about 10 minutes before serving to soften slightly. Since this is a no-bake chocolate treat, I never reheat it.
FAQs
What if my candy melts are too thick?
If the candy melts become thick or grainy, I add a small teaspoon of vegetable oil and stir gently until smooth. Heating them too quickly can cause them to seize, so I always melt them slowly in short bursts.
Can I use real chocolate instead of candy melts?
Yes, I can use real chocolate, but it needs to be tempered to keep it from melting or becoming dull. Candy melts are easier because they set firmly without any extra steps.
How do I make the spiderweb design look neat?
I pipe the white circles close together and use a clean toothpick for each web. Wiping the toothpick after each drag helps keep the lines crisp. Working quickly before the chocolate sets gives the best results.
Can I make Spiderweb Bark ahead of time?
Yes, I often make it a day or two ahead and store it in an airtight container. It stays fresh and looks just as good when made in advance, making it great for parties.
Why did my bark crack unevenly when I broke it?
If the bark cracks unevenly, it may not have fully set. I make sure it’s chilled and firm before breaking it apart. Using my hands or gently tapping a knife on the surface helps create cleaner pieces.
Conclusion
I love how this Spiderweb Bark combines creativity and flavor in one easy recipe. It’s the kind of treat that looks impressive on a dessert table but takes very little effort to make. Whether I’m making it for a Halloween party or simply enjoying a sweet afternoon snack, it always adds a festive touch.