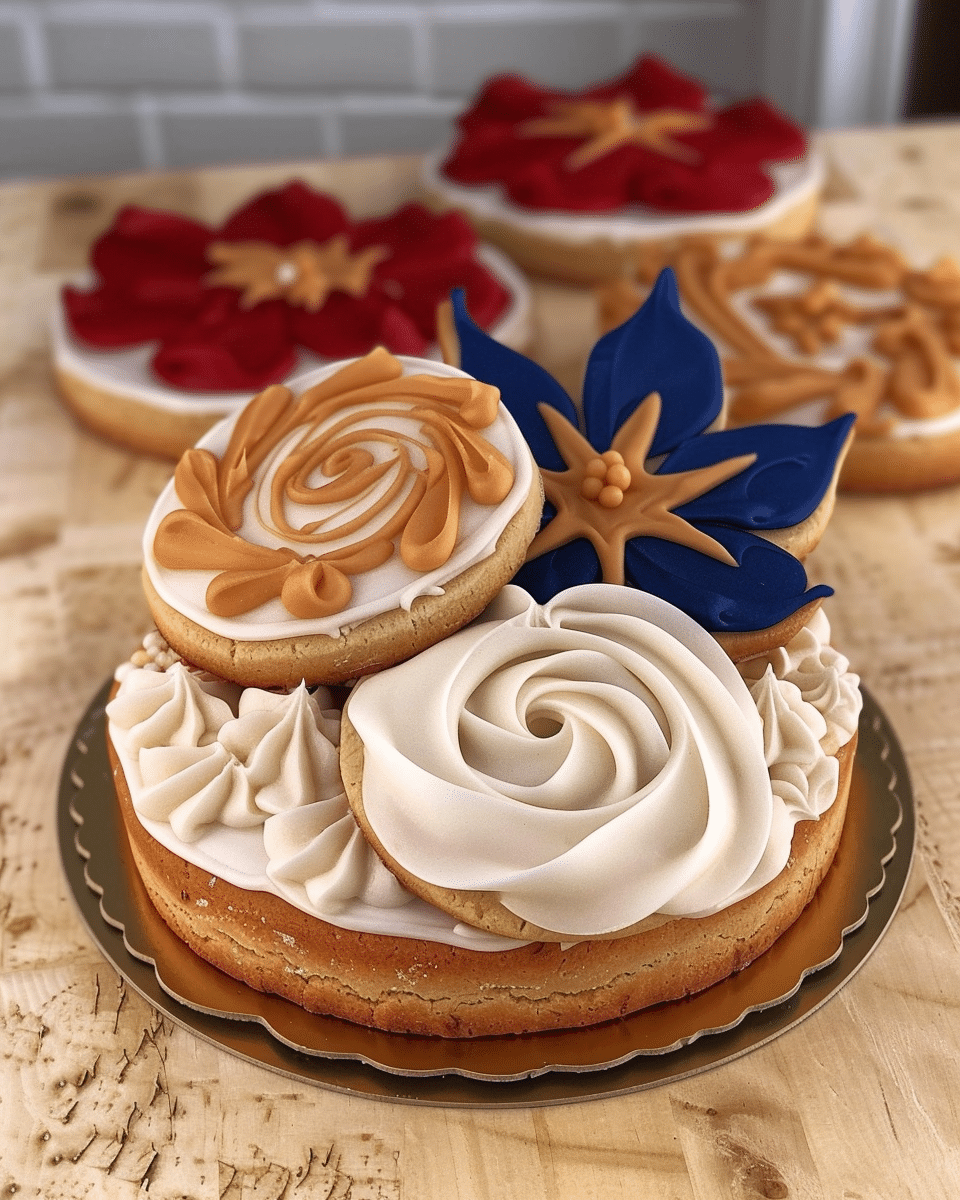
These Royal Icing Sugar Cookies are soft, buttery, and perfectly sweet without being overpowering. I love how the dough rolls out smoothly and holds its shape after baking, making it ideal for intricate cookie cutters. The real magic comes with the royal icing — it dries to a beautiful, glossy finish and creates a flawless canvas for decorating. Whether I’m making lemon slice cookies or festive holiday designs, this recipe gives me the results I want every single time.
Why You’ll Love This Recipe
I love that this cookie dough is incredibly forgiving — I can re-roll it multiple times without it drying out or getting tough. The use of confectioner’s sugar in the dough gives the cookies a soft, almost shortbread-like texture, while still allowing them to hold their shape beautifully during baking. The royal icing is easy to work with, and I can control its consistency depending on whether I’m outlining, flooding, or adding details. It’s perfect for both beginners and experienced decorators.
Ingredients
(Tip: You’ll find the full list of ingredients and measurements in the recipe card below.)
For The Sugar Cookies
1 cup (226 g) unsalted butter, at room temperature
3 to 5 tablespoons water (adjust as needed for desired consistency)
Directions
I start by creaming the butter and confectioner’s sugar in a stand mixer fitted with the paddle attachment. I mix on low speed until the mixture is smooth and combined, scraping down the bowl as needed.
I add the egg and vanilla extract and continue mixing for about 2 minutes until the mixture becomes light and fluffy. Again, I make sure to scrape the sides and bottom of the bowl.
In a separate bowl, I whisk together the flour, baking powder, and salt. Then I gradually add the dry ingredients to the butter mixture while mixing on low speed.
As soon as the dough pulls away from the sides of the bowl and comes together, I know it’s ready — this usually takes about 1 ½ minutes.
I place the dough between two pieces of parchment paper and roll it out to about ¼ inch thick. This thickness keeps the center soft and tender while the bottom bakes to a light golden brown.
I transfer the rolled dough (still between the parchment) onto a cookie sheet and place it in the refrigerator for at least 1 hour to chill and firm up.
Once chilled, I use cookie cutters to cut out my shapes. I gather the leftover dough, re-roll it, and repeat until I’ve used it all.
I place the cut-out cookies on a parchment-lined baking sheet, spaced about 2 inches apart. Then I chill them again for 15 minutes before baking — this helps prevent them from spreading.
I bake the cookies in a preheated oven at 400°F (204°C) for 8 to 9 minutes. The baking time may vary depending on the size of the cookie cutter, so I keep an eye on the bottoms — I want them just golden brown.
After baking, I let the cookies sit on the sheet for a couple of minutes before transferring them to a wire rack to cool completely.
Making The Royal Icing
I combine the confectioner’s sugar and meringue powder in the bowl of a stand mixer and mix on low speed.
I add water one tablespoon at a time and continue mixing until the icing is smooth. I stop and scrape the bowl often to ensure everything is incorporated evenly.
I judge the consistency by lifting the paddle from the icing. For outlining, the icing should form smooth ribbons that slowly disappear back into the bowl.
For flood consistency, I add a drop or two of extra water until the icing becomes slightly thinner and flows more easily.
While working, I keep the icing covered with a damp towel to prevent it from drying out. If the top does crust over, I place a very damp rag on the bowl and let it sit for 30 minutes to restore moisture.
I color the icing using gel food coloring, then separate it into piping bags — thicker icing for outlines, thinner icing for flooding.
When decorating, I first pipe an outline around the cookie, let it set for a few minutes, and then flood the center. I allow the cookies to dry for at least an hour or overnight before adding additional details.
Servings And Timing
Servings: Makes 18 to 20 medium-sized cookies Prep Time: 1 hour 30 minutes (includes chilling time) Cook Time: 8 to 9 minutes per batch Total Time: About 2 hours
Variations
I sometimes swap the vanilla extract for almond extract for a more complex flavor.
For a citrus twist, I like to add lemon or orange zest directly into the dough.
I adjust the icing colors based on the season — pastels for spring, deep reds and greens for Christmas, or bright colors for summer parties.
Vegan meringue powder works well if I’m making these for someone with egg allergies.
Storage/Reheating
I store decorated cookies in an airtight container at room temperature for up to 1 week. The icing dries hard and shiny, and the cookies stay soft. If I want to freeze them, I wait until the icing is fully dry (usually overnight), then layer the cookies with parchment paper in a freezer-safe container.
If I’m baking ahead, I sometimes freeze the plain cookies and decorate them after thawing. I never refrigerate decorated cookies, as the moisture can cause the icing to smudge or develop condensation.
FAQs
Can I Make The Dough In Advance?
Yes, I often make the dough a day or two ahead. I roll it out between parchment paper and store it on a baking sheet in the fridge. If chilling for more than a few hours, I wrap it in plastic wrap to prevent it from drying out.
Why Did My Cookies Spread In The Oven?
The most common reason is warm dough. I always chill the dough before and after cutting out the shapes. Using room-temperature (not melted) butter and scraping the bowl during mixing also helps prevent spreading.
How Do I Keep The Royal Icing From Drying Out?
I always keep a damp towel over the bowl when I’m not using the icing. If it does start to crust, I place a damp rag over the bowl and let it sit for about 30 to 60 minutes to rehydrate the top layer.
Can I Use Liquid Food Coloring Instead Of Gel?
I prefer gel food coloring because it gives stronger colors without thinning the icing. Liquid food dye can work in a pinch, but I reduce the added water to balance the consistency.
How Long Does It Take For The Icing To Dry?
I allow the flooded icing to dry for at least 1 hour before adding details, but ideally, I let the cookies sit overnight. This ensures a smooth, dry surface that won’t smudge when touched.
Conclusion
These Royal Icing Sugar Cookies have become a must-have recipe in my baking rotation. They’re soft, flavorful, and serve as the perfect canvas for detailed icing designs. I love how the dough is easy to work with, the cookies bake up beautifully, and the icing transforms them into stunning edible art. Whether I’m making them for a party, holiday, or just because, this recipe always delivers.