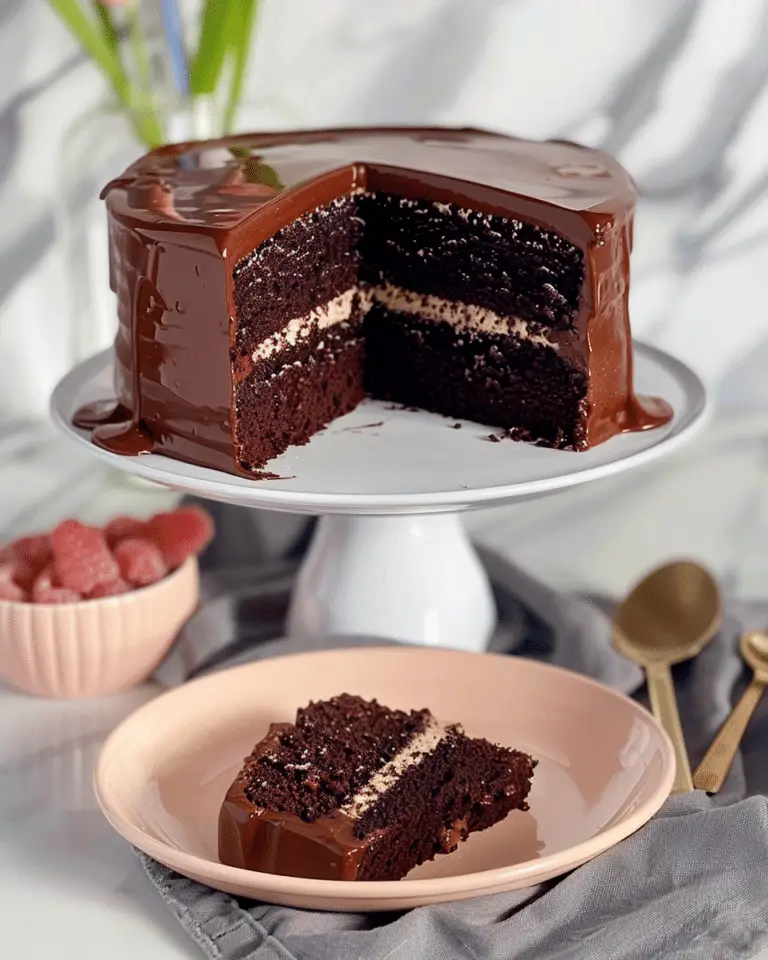
These red velvet cookie sandwiches are soft, chewy, and filled with a creamy, tangy cream cheese frosting. I love how festive they look, especially with sprinkles added around the edges. They’re a treat that feels both fun and elegant, perfect for holidays or anytime I want to make something a little extra special.

Why You’ll Love This Recipe
I like how these cookies combine everything I love about red velvet cake but in a hand-held form. The cookies are chewy with just the right touch of cocoa and a subtle tang that makes red velvet so distinct. The cream cheese frosting is smooth, sweet, and tangy, and it balances the richness of the cookies beautifully. I also enjoy how versatile they are—I can change up the sprinkles for any celebration, whether it’s Valentine’s Day, Christmas, or even the Fourth of July.
Ingredients
(Here’s a tip: Check out the full list of ingredients and measurements in the recipe card below.)
For the cookies
-
All-purpose flour
-
Natural unsweetened cocoa powder
-
Baking soda
-
Salt
-
Unsalted butter, room temperature
-
Granulated sugar
-
Light brown sugar
-
Large egg
-
Vanilla extract
-
Vinegar
-
Red food coloring
For the cream cheese frosting
-
Cream cheese, room temperature
-
Unsalted butter, room temperature
-
Powdered sugar
-
Vanilla extract
For decorating
-
Sprinkles (optional, but I like to use them for a festive touch)
Directions
-
Preheat the oven to 350°F (180°C). Line baking sheets with parchment paper or silicone baking mats.
-
In a medium bowl, whisk together the flour, cocoa powder, baking soda, and salt.
-
In a large bowl, cream the butter, granulated sugar, and brown sugar until light and fluffy, about 2-3 minutes.
-
Mix in the egg, then add the vanilla extract, vinegar, and red food coloring. Stir until well combined.
-
Gradually add the dry ingredients to the wet mixture and mix until just combined.
-
Roll the dough into 1 1/2 tablespoon-sized balls and place them 2 inches apart on the prepared baking sheet.
-
Bake for 7-9 minutes, until the cookies look just set. Allow them to cool for 4-5 minutes on the baking sheet before transferring to a wire rack to cool completely.
-
For the frosting, beat the cream cheese and butter together until smooth. Mix in half the powdered sugar, then the vanilla, then the remaining powdered sugar until fluffy and pipe-able.
-
Transfer the frosting to a piping bag and pipe onto the flat side of one cookie. Top with another cookie to form a sandwich. Roll the edges in sprinkles if desired.
Servings and timing
This recipe makes about 16 cookie sandwiches.
-
Prep time: 45 minutes
-
Cooling time: 1 hour
-
Cook time: 7 minutes
-
Total time: about 1 hour 52 minutes
Variations
I like switching up the decorations depending on the season. For Christmas, I go with red and green sprinkles; for Valentine’s Day, I use little heart-shaped sprinkles; and for summer, red, white, and blue are perfect. Another variation is adding mini chocolate chips inside the cookies for an extra layer of richness.
Storage/Reheating
I keep these cookies in an airtight container in the fridge since the frosting is cream cheese-based. They taste best when I let them sit at room temperature for about 20 minutes before serving, so the frosting softens a bit. They stay fresh for 3-4 days. If I want to keep them longer, I freeze them either assembled or just the cookies on their own. When frozen, I thaw them in the fridge overnight before serving.

FAQs
Can I use gel food coloring instead of liquid?
Yes, I can use gel coloring. It’s more concentrated, so I need less of it to achieve a deep red color.
Can I make the cookies ahead of time?
I often bake the cookies a day in advance and store them in an airtight container. Then I make the frosting and assemble them the next day.
Can I use salted butter instead of unsalted?
Yes, but I reduce the added salt slightly so the cookies don’t come out too salty.
Do I have to use vinegar in this recipe?
Yes, vinegar is important in red velvet desserts. It reacts with baking soda and enhances the tangy flavor, but it won’t make the cookies taste like vinegar.
How do I prevent the cookies from spreading too much?
I make sure my butter isn’t too soft, I measure the flour carefully, and I don’t overbake them. This helps the cookies stay thick and chewy.
Conclusion
These red velvet cookie sandwiches are one of my favorite treats to make when I want something festive, colorful, and absolutely delicious. I love how the chewy cookies pair with the creamy filling, and they’re always a hit whenever I share them. Whether it’s for a holiday, a party, or simply because I feel like baking, these cookies never disappoint.

Red Velvet Cookie Sandwiches
5 Stars 4 Stars 3 Stars 2 Stars 1 Star
No reviews
- Author: Yusraa
- Total Time: 1 hour 52 minutes
- Yield: 16 cookie sandwiches
- Diet: Vegetarian
Description
These Red Velvet Cookie Sandwiches feature soft, chewy red velvet cookies filled with tangy cream cheese frosting. Festive, colorful, and fun to make, they’re perfect for holidays or any time you want a handheld twist on classic red velvet cake.
Ingredients
- 1 3/4 cups all-purpose flour
- 2 tbsp natural unsweetened cocoa powder
- 1/2 tsp baking soda
- 1/4 tsp salt
- 1/2 cup unsalted butter, room temperature
- 1/2 cup granulated sugar
- 1/2 cup light brown sugar
- 1 large egg
- 1 tsp vanilla extract
- 1 tsp vinegar
- 1 tbsp red food coloring (or less if using gel)
- 4 oz cream cheese, room temperature
- 1/4 cup unsalted butter, room temperature
- 2 cups powdered sugar
- 1/2 tsp vanilla extract
- Sprinkles (optional, for decorating)
Instructions
- Preheat oven to 350°F (180°C) and line baking sheets with parchment paper or silicone mats.
- In a medium bowl, whisk together flour, cocoa powder, baking soda, and salt.
- In a large bowl, cream together butter, granulated sugar, and brown sugar until light and fluffy (2–3 minutes).
- Add egg, vanilla, vinegar, and food coloring. Mix until combined.
- Gradually add dry ingredients and mix until just combined.
- Roll dough into 1½ tablespoon-sized balls and place 2 inches apart on baking sheets.
- Bake for 7–9 minutes until set. Cool on sheets 4–5 minutes, then transfer to a wire rack to cool completely.
- For frosting, beat cream cheese and butter until smooth. Add half the powdered sugar, mix, then add vanilla and remaining sugar. Beat until fluffy.
- Pipe or spread frosting onto the flat side of half the cookies. Top with remaining cookies to form sandwiches.
- Roll edges in sprinkles if desired and refrigerate for 20 minutes to set.
Notes
- Use gel food coloring for more vibrant color with less quantity.
- Chill assembled cookies for cleaner edges and easier handling.
- Add mini chocolate chips to cookie dough for extra richness.
- Decorate with themed sprinkles for holidays or celebrations.
- Let cookies sit at room temperature 20 minutes before serving for best texture.
- Prep Time: 45 minutes
- Cook Time: 7 minutes
- Category: Dessert
- Method: Baking
- Cuisine: American
Nutrition
- Serving Size: 1 sandwich
- Calories: 290
- Sugar: 28g
- Sodium: 150mg
- Fat: 15g
- Saturated Fat: 9g
- Unsaturated Fat: 5g
- Trans Fat: 0g
- Carbohydrates: 36g
- Fiber: 1g
- Protein: 3g
- Cholesterol: 45mg


