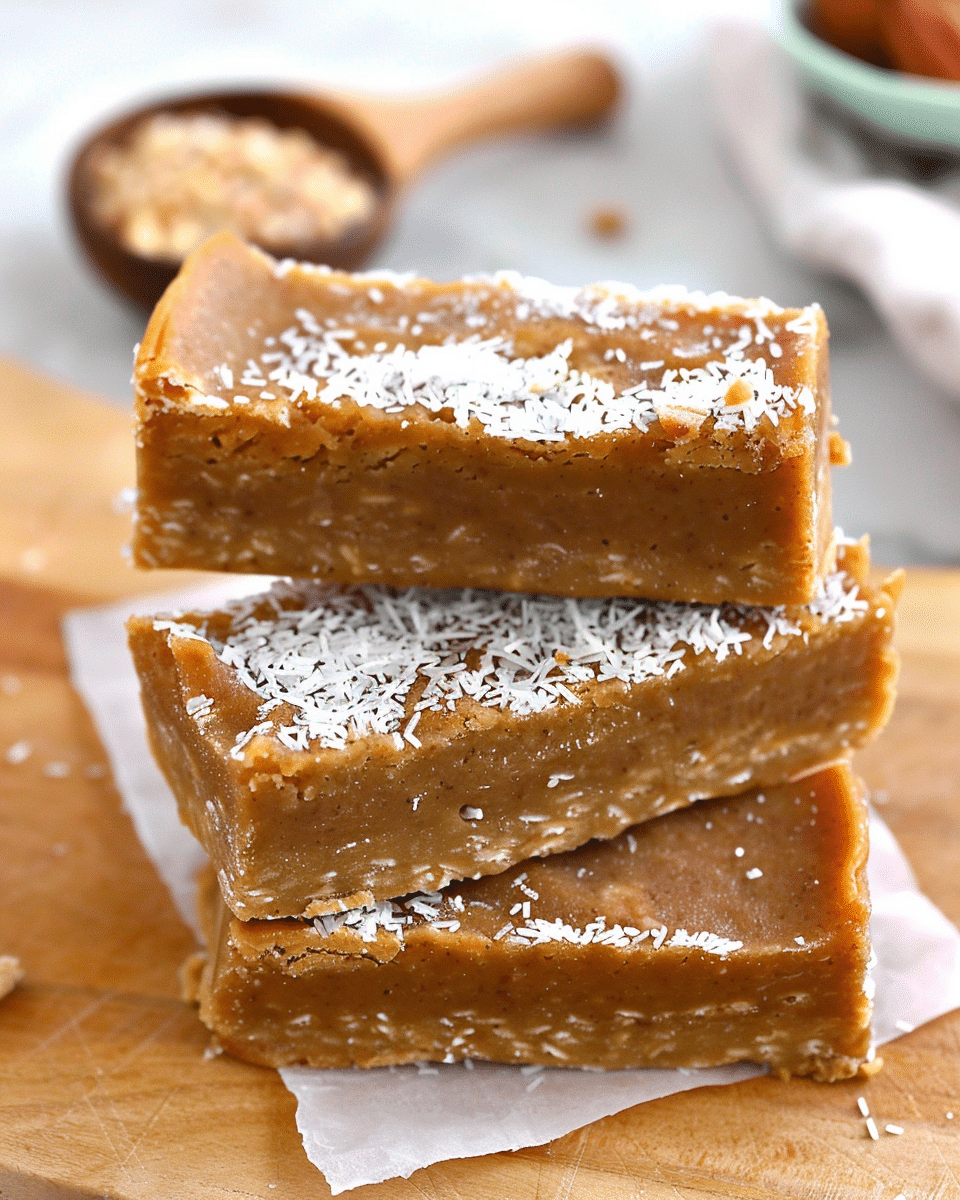
These powered peanut butter protein bars are a simple, no-bake snack designed for anyone who wants a high-protein treat without excessive fat. Made with peanut butter powder and wholesome pantry ingredients, they deliver a soft, chewy texture and a satisfying peanut flavor while staying light and balanced.
Why You’ll Love This Recipe
High in protein with about 16 grams per bar
Lower in fat compared to traditional peanut butter bars
No baking required, quick and beginner-friendly
Easy to customize with different flavors and add-ins
Perfect for meal prep, workouts, or on-the-go snacks
Ingredients
(Tip: You’ll find the full list of ingredients and measurements in the recipe card below.)
1 cup peanut butter powder
1/2 cup vanilla whey protein powder
1/3 cup oat flour
1/4 cup light honey or date syrup
1/2 cup unsweetened almond milk
1/2 teaspoon vanilla extract
1/8 teaspoon salt
Directions
In a large mixing bowl, combine the peanut butter powder, protein powder, oat flour, and salt. Mix until evenly blended.
Add the honey (or date syrup), almond milk, and vanilla extract to the dry ingredients.
Stir with a spatula or spoon until a thick, uniform dough forms. If the mixture feels too dry, add 1 tablespoon of almond milk at a time until it comes together.
Line a small rectangular pan with parchment paper. Press the mixture firmly and evenly into the pan.
Refrigerate for at least 1 hour, or until set.
Remove from the pan and slice into equal-sized bars.
Servings and timing
Servings: 6 bars
Prep time: 10 minutes
Chill time: 60 minutes
Total time: about 1 hour and 10 minutes
Each bar provides approximately 160–170 calories and around 16 grams of protein, depending on the protein powder used.
Plant-based option: Use plant-based protein powder and maple syrup instead of whey and honey.
Flavor boost: Add a pinch of cinnamon or instant coffee powder for extra depth.
Storage/Reheating
Store the bars in an airtight container in the refrigerator for up to 7 days.
For longer storage, freeze them for up to 2 months. Let frozen bars thaw in the refrigerator or at room temperature before eating. Reheating is not necessary.
FAQs
Can I use regular peanut butter instead of peanut butter powder?
You can, but it will significantly increase the fat and calorie content and change the texture of the bars.
Are these bars good for weight loss?
They can fit into a weight-loss plan when eaten in moderation, thanks to their high protein and controlled calorie content.
What protein powder works best?
Vanilla whey protein powder works well, but unflavored whey or plant-based protein can also be used.
Can I make these bars vegan?
Yes, use a plant-based protein powder and replace honey with maple syrup or date syrup.
Do these bars need to be baked?
No, this is a no-bake recipe that sets in the refrigerator.
How do I make the bars firmer?
Press the mixture firmly into the pan and allow enough chilling time for best results.
Can I reduce the sweetness?
Yes, slightly reduce the honey or syrup and add a bit more almond milk if needed.
Are these bars suitable for kids?
Yes, they are made with simple ingredients, but always check for allergies.
Can I shape them into balls instead of bars?
Absolutely, roll the mixture into bite-sized balls and chill until firm.
Why are my bars crumbly?
The mixture may be too dry; add almond milk one tablespoon at a time until it holds together.
Conclusion
Powered Peanut Butter Protein Bars are a practical, protein-rich snack that proves healthy eating does not have to be complicated. With minimal ingredients and no baking required, this recipe is ideal for busy days, post-workout fuel, or a homemade alternative to store-bought protein bars.
These no-bake powered peanut butter protein bars are a high-protein, low-fat snack made with peanut butter powder, whey protein, and oat flour. They offer a chewy texture and balanced nutrition with about 16g of protein per bar.
Ingredients
1 cup peanut butter powder
1/2 cup vanilla whey protein powder
1/3 cup oat flour
1/4 cup light honey or date syrup
1/2 cup unsweetened almond milk
1/2 teaspoon vanilla extract
1/8 teaspoon salt
Instructions
In a large mixing bowl, combine peanut butter powder, protein powder, oat flour, and salt. Mix until evenly combined.
Add honey (or date syrup), almond milk, and vanilla extract to the bowl.
Stir until a thick dough forms. Add extra almond milk 1 tablespoon at a time if too dry.
Line a small rectangular pan with parchment paper and press the mixture firmly and evenly into it.
Refrigerate for at least 1 hour or until set.
Remove from the pan and slice into 6 equal bars.
Notes
For chocolate flavor, add 1 tablespoon cocoa powder to the dough.
To make vegan, use plant-based protein powder and maple or date syrup instead of honey.
Add cinnamon, instant coffee, or chopped peanuts for extra flavor and texture.
Store in the fridge for up to 7 days or freeze for up to 2 months.


