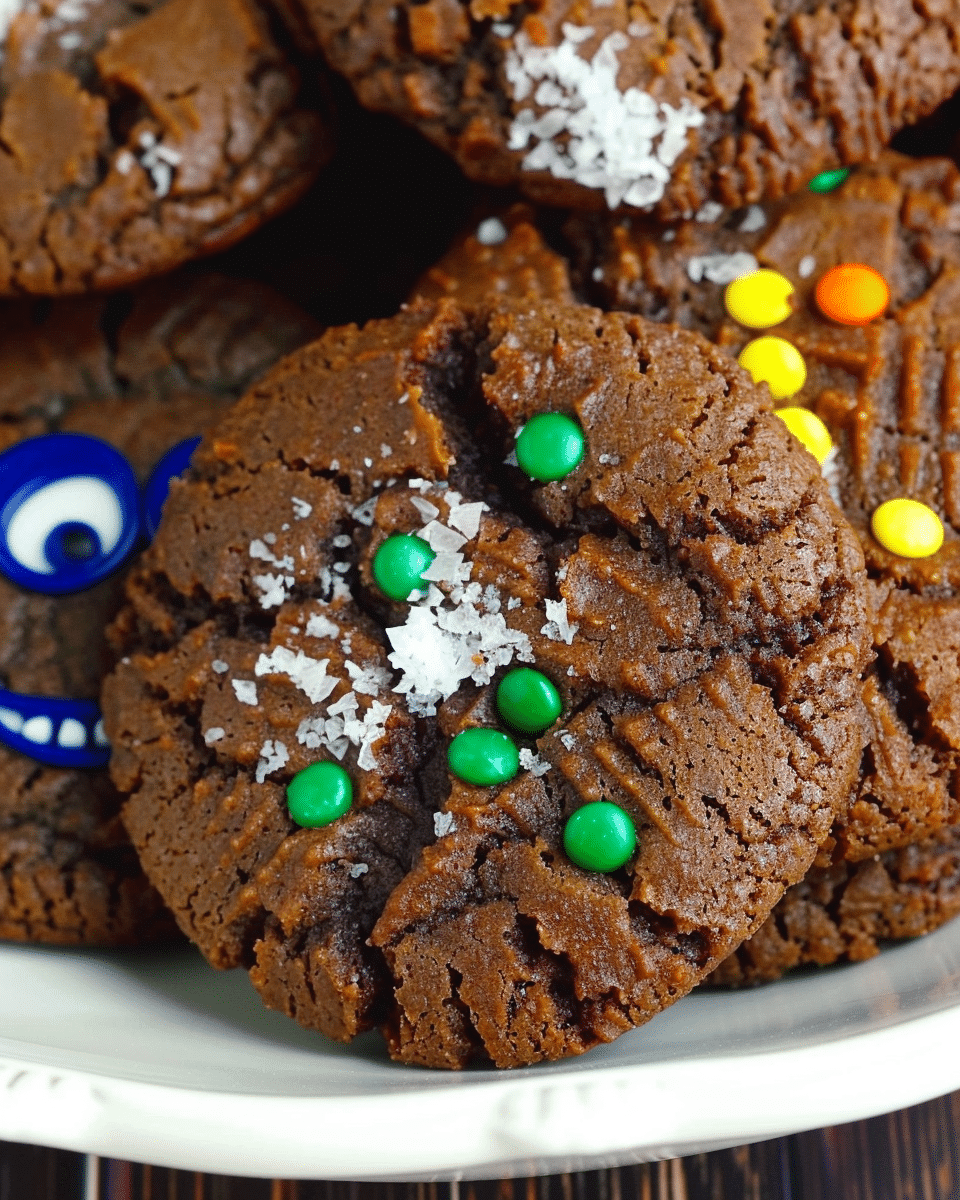
Monster Mash Chocolate Cookies are fun, chocolate-packed treats that bring a playful, spooky twist to traditional chocolate chip cookies. With colorful sprinkles, crunchy sugar crystals, and candy eyes, each cookie looks like a silly little monster—making them perfect for Halloween parties, classroom treats, or anytime I want to bake something festive and fun.
Why I’ll Love This Recipe
I love how these cookies combine the rich, satisfying taste of classic chocolate chip cookies with the joy of decorating. The recipe is simple enough for beginners and a great way for me to involve kids in the kitchen. I enjoy experimenting with different sprinkle colors or eye placements to make every cookie unique. Plus, they’re a guaranteed conversation starter at any gathering.
Ingredients
(Tip: You’ll find the full list of ingredients and measurements in the recipe card below.)
1 cup unsalted butter, softened to room temperature
1 ½ cups granulated sugar
2 large eggs
2 teaspoons pure vanilla extract
2 cups all-purpose flour
⅔ cup unsweetened cocoa powder
¾ teaspoon baking soda
¼ teaspoon salt
1 ¾ cups semisweet chocolate chips (a standard 10-ounce bag)
2 tablespoons orange sprinkles
2 tablespoons purple nonpareils
2 tablespoons green sugar crystals
Assorted candy eyes (small and large, any color)
Directions
In a large mixing bowl, I cream together the softened butter and granulated sugar until the mixture is light and fluffy.
I beat in the eggs, one at a time, then add the vanilla extract, mixing until smooth.
In a separate bowl, I whisk together the all-purpose flour, unsweetened cocoa powder, baking soda, and salt.
Gradually, I add the dry ingredients to the wet ingredients, mixing just until combined.
I fold in the chocolate chips evenly throughout the dough.
I cover the bowl and chill the cookie dough in the refrigerator for 30 minutes. This makes shaping easier and prevents the cookies from spreading too much.
While the dough chills, I preheat the oven to 350°F (175°C) and line baking sheets with parchment paper.
I scoop and roll the dough into balls, about 1.5 tablespoons each, then slightly flatten each one on the baking sheet.
I decorate each cookie by sprinkling one-third of the surface with orange sprinkles, another third with purple nonpareils, and the final third with green sugar crystals. I then press one or two candy eyes into each cookie.
I bake the cookies in the preheated oven for 10 minutes or until the edges are set but the centers still look soft.
After baking, I allow the cookies to cool on the baking sheet for 5 minutes before transferring them to a wire rack to cool completely.
Servings And Timing
Yield: 40 cookies
Prep Time: 20 minutes
Chill Time: 30 minutes
Bake Time: 10 minutes
Total Time: 1 hour
Variations
I like to swap in colorful mini M&Ms or chopped candy pieces for a different look and crunch.
When I don’t have purple nonpareils or green sugar, I use whatever sprinkles I have—rainbow jimmies or red sugar crystals work just as well.
For an extra chocolate boost, I sometimes use dark chocolate chips instead of semisweet.
I’ve also used peanut butter chips or white chocolate chips to mix up the flavor and appearance.
For a softer cookie, I reduce the baking time by a minute and let the cookies finish setting on the tray.
Storage/Reheating
Once completely cooled, I store the cookies in an airtight container at room temperature for up to 5 days. For longer storage, I freeze the cookies in a sealed container or freezer bag for up to 2 months. To reheat, I place a few cookies on a baking tray and warm them in a 300°F (150°C) oven for 3 to 5 minutes until slightly soft and warm.
FAQs
How Do I Keep The Candy Eyes From Melting?
To keep the candy eyes from melting too much, I press them gently into the cookies halfway through baking or right after they come out of the oven while they’re still soft on top.
Can I Freeze The Cookie Dough?
Yes, I often freeze the cookie dough. I scoop it into balls, freeze them on a tray until solid, then transfer them to a freezer bag. When baking from frozen, I just add 1 to 2 extra minutes to the bake time.
Can I Make These Cookies Gluten-Free?
I can make them gluten-free by replacing the flour with a 1:1 gluten-free flour blend that includes xanthan gum. I always check the labels on my other ingredients to be sure they’re gluten-free too.
What If I Don’t Have All The Decorating Toppings?
I use whatever I have on hand. Chocolate chips, colorful sprinkles, or even small candies can substitute for the suggested decorations. The goal is to make them fun and monster-like, not perfect.
Do I Have To Chill The Dough?
Chilling the dough helps reduce spreading and makes shaping easier. If I skip chilling, the cookies might come out flatter and thinner, so I always recommend giving them at least 30 minutes in the fridge.
Conclusion
Monster Mash Chocolate Cookies are the ultimate blend of fun and flavor. I love baking them for Halloween, birthday parties, or just for an afternoon treat. With a soft, rich chocolate base and the opportunity to customize each cookie, this recipe lets me get creative while making something seriously delicious. I hope these little monsters bring as much joy to your kitchen as they do to mine.
Monster Mash Chocolate Cookies are rich, chocolatey cookies decorated with colorful sprinkles and candy eyes to look like playful monsters. They’re perfect for Halloween parties or a fun baking activity with kids, combining great flavor with festive flair.
Ingredients
1 cup unsalted butter, softened
1½ cups granulated sugar
2 large eggs
2 teaspoons pure vanilla extract
2 cups all-purpose flour
⅔ cup unsweetened cocoa powder
¾ teaspoon baking soda
¼ teaspoon salt
1¾ cups semisweet chocolate chips
2 tablespoons orange sprinkles
2 tablespoons purple nonpareils
2 tablespoons green sugar crystals
Assorted candy eyes (small and large)
Instructions
Cream butter and granulated sugar in a large bowl until light and fluffy.
Add eggs one at a time, then mix in vanilla extract until smooth.
In a separate bowl, whisk together flour, cocoa powder, baking soda, and salt.
Gradually mix dry ingredients into the wet ingredients just until combined.
Fold in chocolate chips evenly.
Chill dough in the refrigerator for 30 minutes.
Preheat oven to 350°F (175°C) and line baking sheets with parchment paper.
Roll dough into 1.5 tablespoon-sized balls and slightly flatten each on the baking sheet.
Decorate each cookie: sprinkle one-third with orange sprinkles, another third with purple nonpareils, and the last third with green sugar crystals. Press 1–2 candy eyes into each cookie.
Bake for 10 minutes or until edges are set but centers look soft.
Cool on baking sheet for 5 minutes, then transfer to a wire rack to cool completely.
Notes
Use mini M&Ms or chopped candy in place of sprinkles for variation.
Press candy eyes into cookies halfway through baking or immediately after for best results.
For extra chocolate flavor, use dark chocolate chips or add peanut butter/white chocolate chips.
Dough can be frozen in balls; bake from frozen with 1–2 minutes added to baking time.
Store fully cooled cookies in an airtight container for up to 5 days, or freeze up to 2 months.


