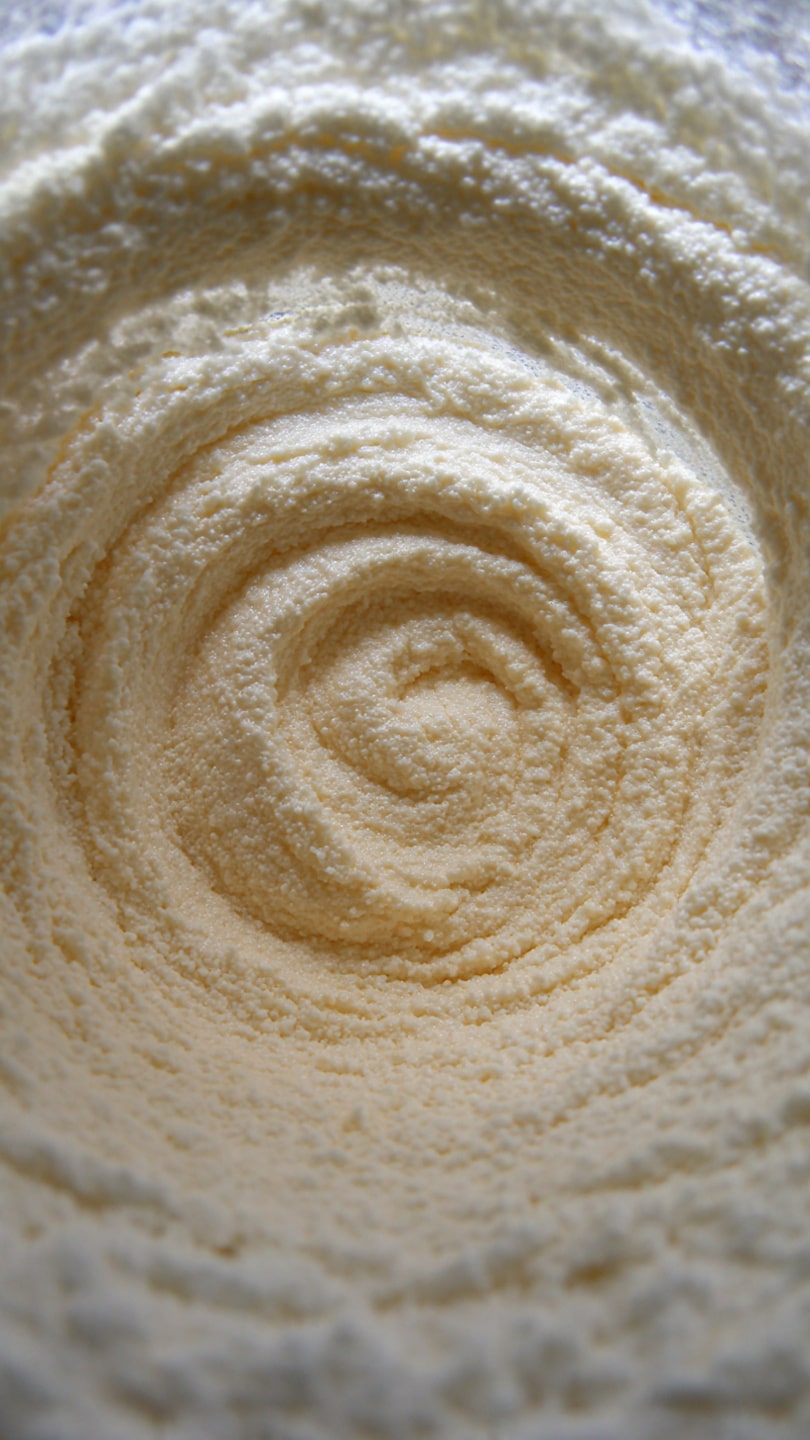
This homemade vanilla bean yogurt is silky, creamy, and delicately sweet, with real flecks of vanilla and a balanced tang—just like high-quality store-bought versions, but fresher and more economical. With only a few simple ingredients and a warm spot in your kitchen, you can create a batch of beautifully cultured yogurt that tastes luxurious and wholesome.
Why You’ll Love This Recipe
It’s incredibly simple and requires no yogurt maker.
Uses real vanilla for authentic flavor.
More affordable than buying premium yogurt.
Customizable sweetness and texture.
Perfect for breakfast bowls, snacks, or desserts.
Ingredients
(Tip: You’ll find the full list of ingredients and measurements in the recipe card below.)
1 quart organic whole milk (4 cups)
3 tablespoons sugar
1/2 teaspoon vanilla bean paste, or the seeds scraped from 1 vanilla bean
1/2 teaspoon vanilla extract
1 yogurt starter packet, or 1/4 cup yogurt with active cultures
Directions
Bring the milk to a boil (about 180°F).
Remove from heat, then stir in the sugar, vanilla bean paste (or scraped seeds), and vanilla extract until dissolved.
Allow the mixture to cool to lukewarm, about 112°F.
Stir in the yogurt starter or active-culture yogurt until fully combined.
Pour the mixture into 4 clean jars.
Place the jars in a warm environment for about 7 hours or overnight, depending on your preferred firmness. Options include keeping them in the oven with the light on, a turned-off crockpot wrapped in towels, or on a heating pad set to low.
Once set, move the jars to the refrigerator and chill for at least 4 hours before serving.
Enjoy plain or with fruit, preserves, granola, or honey.
Servings and Timing
This recipe makes approximately 4 servings (one cup each).
Active prep time: about 15 minutes
Incubation time: 7 hours (or overnight)
Chilling time: 4 hours
Variations
Honey Vanilla Yogurt: Replace sugar with 2–3 tablespoons of honey added after milk cools.
Maple Vanilla Yogurt: Stir in 2 tablespoons pure maple syrup instead of sugar.
Vanilla Cardamom: Add a pinch of ground cardamom for warm, aromatic depth.
Low-Sugar Version: Reduce sugar to 1 tablespoon or omit entirely.
Thicker Yogurt: Strain the finished yogurt through a cheesecloth-lined sieve for Greek-style texture.
Storage/Reheating
Store yogurt in airtight jars in the refrigerator for up to 1 week.
Do not reheat yogurt; heat will destroy beneficial cultures.
For future batches, reserve 1/4 cup of this yogurt to use as a starter, alternating between fresh starter powder and saved yogurt to maintain consistency.
FAQs
Why did my yogurt turn out runny?
The incubation temperature may have been too low or the starter culture too old. Ensure the milk is at 112°F when adding the starter.
Can I use low-fat or skim milk?
Yes, but the yogurt will be thinner. Whole milk gives the creamiest result.
Can I add fruit before incubating?
No. Additives can interfere with culturing and cause the yogurt to fail or become runny. Add fruit just before serving.
How do I make the yogurt thicker?
Strain the finished yogurt through cheesecloth for 1–3 hours to remove whey.
Can I double the recipe?
Yes. Use the same temperatures and steps, simply increase ingredient quantities proportionally.
What if I don’t have vanilla bean paste?
Use the seeds from one vanilla bean or stick with vanilla extract.
Why does homemade yogurt taste tangier than store-bought?
Longer incubation leads to a tangier flavor. Reduce culturing time for milder yogurt.
Can I use a flavored yogurt as a starter?
No. Only use plain yogurt with live active cultures.
What containers work best for incubating yogurt?
Glass jars with lids are ideal, but any clean, heat-safe containers work.
How do I know when the yogurt is set?
Tilt the jar gently; it should jiggle slightly like custard, not flow like milk.
Conclusion
Homemade vanilla bean yogurt is richly flavorful, surprisingly simple, and endlessly adaptable. With just a handful of ingredients and a few hours of gentle incubation, you can enjoy a creamy, naturally flavored yogurt that rivals premium brands. Once you start making your own, you may never return to store-bought again.
This homemade vanilla bean yogurt is silky, creamy, and delicately sweet, featuring real vanilla flecks and balanced tang. It’s easy to make with just a few ingredients and no special equipment, offering a fresher and more economical alternative to store-bought yogurt.
Ingredients
1 quart organic whole milk (4 cups)
3 tablespoons sugar
1/2 teaspoon vanilla bean paste, or seeds from 1 vanilla bean
1/2 teaspoon vanilla extract
1 yogurt starter packet, or 1/4 cup yogurt with active cultures
Instructions
Heat the milk in a saucepan over medium heat until it reaches 180°F, then remove from heat.
Stir in sugar, vanilla bean paste (or scraped seeds), and vanilla extract until dissolved.
Let the mixture cool to 112°F.
Stir in the yogurt starter or active-culture yogurt until fully combined.
Pour into 4 clean jars and cover loosely.
Incubate the jars in a warm place for about 7 hours or overnight until set. Use an oven with the light on, a crockpot wrapped in towels, or a heating pad on low.
Refrigerate for at least 4 hours before serving.
Enjoy plain or with toppings like fruit, honey, or granola.
Notes
Use whole milk for best texture; low-fat milk will yield thinner yogurt.
Don’t add fruit or flavorings before incubation — do this after the yogurt has set.
To make thicker yogurt, strain through cheesecloth for 1–3 hours after chilling.
Save 1/4 cup of this batch as a starter for your next batch.
Use only plain yogurt with live active cultures as a starter — avoid flavored types.


