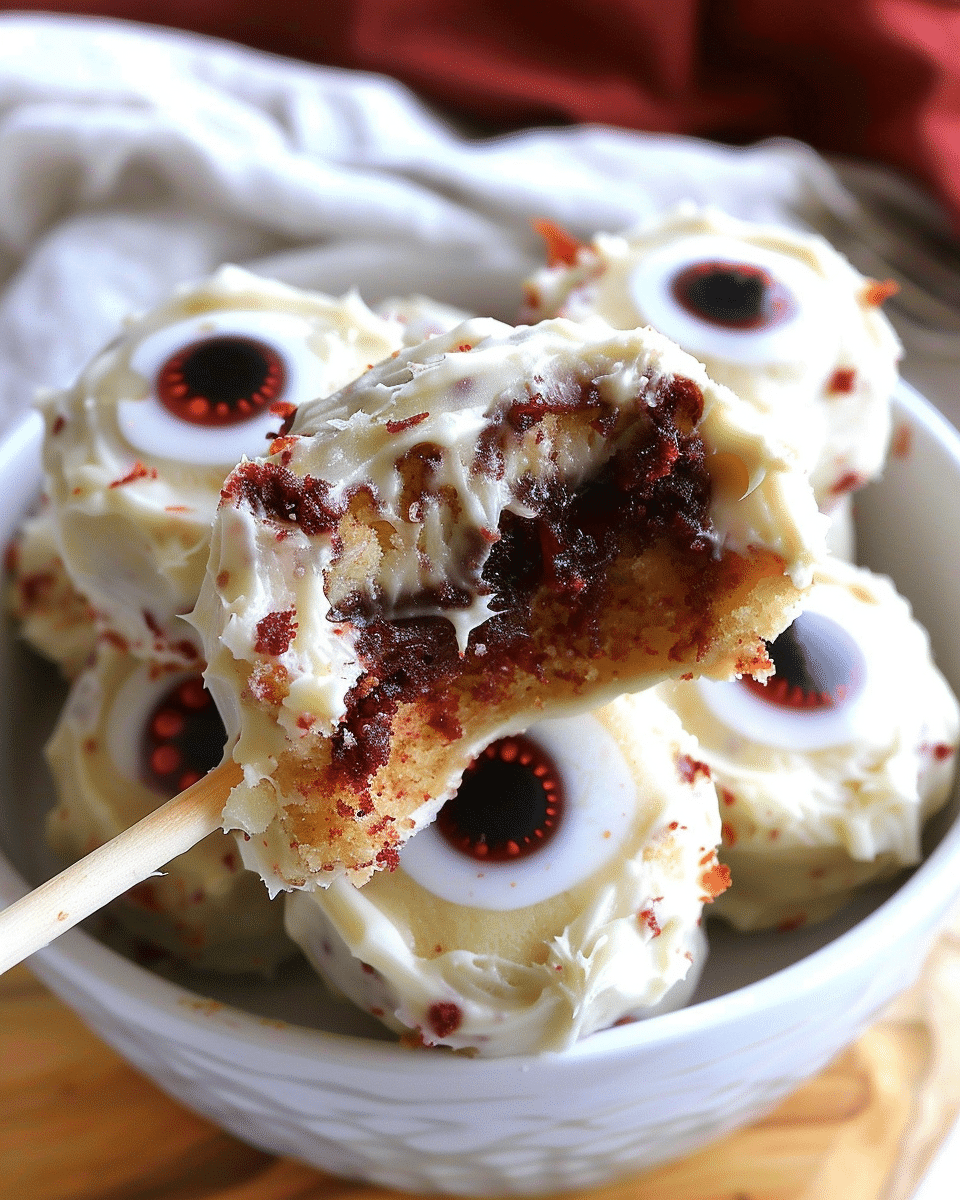
These spooky Eyeball Cake Pops combine rich chocolate cake, creamy homemade buttercream frosting, and a smooth candy coating, all decorated to resemble eerie eyeballs—perfect for Halloween parties, spooky treats, or just some edible fun. I love how easy they are to customize, and despite their creepy look, they’re irresistibly delicious inside.
Why You’ll Love This Recipe
I love how these eyeball cake pops strike the perfect balance between creepy and cute. They’re fun to make and even more fun to decorate. The homemade chocolate cake brings a deep, moist flavor, and the buttercream makes the texture extra smooth when rolled into balls. Decorating them is like edible crafting—I get to be creative with candy melts, colors, and piped designs. Whether I serve them at a Halloween party or wrap them as gifts, they always get attention.
Ingredients
(Tip: You’ll find the full list of ingredients and measurements in the recipe card below.)
For The Chocolate Cake
All-purpose flour – 7 ounces
Granulated sugar – 1 cup
Unsweetened cocoa powder – 3 ounces
Baking soda – 1 teaspoon
Baking powder – ½ teaspoon
Salt – ½ teaspoon
Large egg – 1
Buttermilk – ½ cup
Vegetable oil – ¼ cup
Vanilla extract – ½ teaspoon
Freshly brewed hot coffee – ½ cup
For The Buttercream Frosting
Unsalted butter (softened) – 8 ounces
Powdered sugar – 2 cups
Vanilla extract – ½ teaspoon
Heavy cream – 1½ teaspoons
For The Coating And Decorations
White candy melts – 24 ounces (reserve about 2 ounces to tint blue)
Blue food coloring – for tinting the candy melts for the iris
Chocolate chips – 2 to 3 ounces (for the pupil)
Red candy melts – 2 to 4 ounces (for the bloodshot effect)
Directions
Preheat the oven to 350°F (175°C) and line a 9-inch round cake pan with parchment paper. Lightly grease the sides.
In a large mixing bowl, whisk together the flour, sugar, cocoa powder, baking soda, baking powder, and salt.
In a separate bowl, combine the buttermilk, vegetable oil, egg, and vanilla extract. Whisk until smooth.
Add the wet mixture to the dry ingredients and mix until just combined.
Slowly whisk in the hot coffee. The batter will be thin—this is normal.
Pour the batter into the prepared pan and bake for 25 to 30 minutes, or until a toothpick inserted in the center comes out clean.
Remove the cake from the oven and allow it to cool completely in the pan before transferring it to a large bowl.
While the cake cools, make the buttercream by beating the softened butter until light and creamy. Gradually add powdered sugar, then mix in vanilla and heavy cream. Beat until fluffy.
Once the cake is fully cooled, crumble it into fine crumbs in a large bowl. Add ¾ cup of the buttercream and mix with a spoon or your hands until it becomes dough-like and holds together when pressed.
Line a baking sheet with parchment paper. Using a small cookie scoop or spoon, portion out the mixture into 1 to 2 tablespoon-sized amounts and roll into smooth balls. Place them on the baking sheet.
Chill the cake balls in the refrigerator for at least 1 hour to firm them up.
While the cake balls chill, melt the white candy melts in a microwave-safe bowl or measuring cup according to the package instructions. Reserve about 2 ounces of the melted white candy to tint blue later.
Dip the tip of each cake pop stick about ½ inch into the melted candy, then insert the stick halfway into a chilled cake ball. This helps secure the stick.
Dip each cake pop fully into the melted white candy coating, gently tapping off the excess. Stand them upright (in a foam block or cake pop stand) to set.
Tint the reserved melted candy blue with food coloring, then spoon or pipe a small blue circle in the center of each cake pop to form the iris.
Once the blue sets, melt the chocolate chips and pipe a small black dot in the center of the blue for the pupil.
Melt the red candy melts and use a piping bag or toothpick to draw thin red lines from the center outward to mimic blood vessels.
Let all the decorations set completely—this takes about 1 hour at room temperature—before serving or packaging.
Servings And Timing
Servings: Makes approximately 30 cake pops
Prep Time: 2 hours
Cook Time: 30 minutes
Total Time: 2 hours 30 minutes
Variations
Use vanilla, red velvet, or funfetti cake instead of chocolate for a different flavor and color inside.
Substitute cream cheese frosting or peanut butter frosting instead of buttercream for a twist in flavor.
Color the candy coating different shades—green, purple, or orange—for themed parties.
Skip the spooky design and decorate with sprinkles or drizzle for general occasions.
Add crushed cookies, sprinkles, or nuts inside the cake pop dough for added texture.
Storage/Reheating
Store cake pops in an airtight container at room temperature for 3 to 4 days.
Avoid refrigerating them if possible, as condensation can make the candy coating sticky or spotty.
If needed, refrigerate briefly in a sealed container, then bring to room temperature before serving.
Do not microwave or reheat, as the coating will melt and ruin the shape.
FAQs
How Do I Know When The Cake Is Done Baking?
I check by inserting a toothpick into the center—if it comes out clean or with just a few crumbs, the cake is ready.
Can I Use Boxed Cake Mix Instead Of Homemade Cake?
Yes, I can use a boxed mix for convenience. I just follow the instructions, bake, and let it cool before crumbling.
Why Are My Cake Pops Cracking?
Cracking usually happens when the cake balls are too cold and the candy coating is too hot. I let the cake balls sit out for a few minutes before dipping to avoid temperature shock.
How Can I Make The Cake Pops Stick Better To The Sticks?
I dip the stick into melted candy before inserting it into the cake ball—this acts like glue. Then I chill the pops before dipping fully to help them stay secure.
Can I Freeze Cake Pops?
Yes, I can freeze undipped cake balls for up to 2 months. When ready to decorate, I thaw them in the fridge, then let them come to room temperature before dipping.
Conclusion
Making Eyeball Cake Pops is one of my favorite Halloween baking traditions. They combine a moist, flavorful cake with rich frosting and a fun, decorative candy coating. Every part of the process—from baking and rolling to dipping and decorating—is enjoyable and festive. Whether I’m hosting a party or sharing them as gifts, they always disappear fast.
These spooky Eyeball Cake Pops are made with rich chocolate cake, creamy homemade buttercream, and a white candy coating, decorated with colorful irises and bloodshot detailing to resemble eerie eyeballs—perfect for Halloween parties and festive treats.
Ingredients
7 ounces all-purpose flour
1 cup granulated sugar
3 ounces unsweetened cocoa powder
1 teaspoon baking soda
½ teaspoon baking powder
½ teaspoon salt
1 large egg
½ cup buttermilk
¼ cup vegetable oil
½ teaspoon vanilla extract
½ cup freshly brewed hot coffee
8 ounces unsalted butter, softened
2 cups powdered sugar
½ teaspoon vanilla extract (for frosting)
1½ teaspoons heavy cream
24 ounces white candy melts (reserve 2 ounces to tint blue)
Blue food coloring
2–3 ounces chocolate chips
2–4 ounces red candy melts
Instructions
Preheat oven to 350°F (175°C). Line a 9-inch round cake pan with parchment and grease the sides.
Whisk together flour, sugar, cocoa powder, baking soda, baking powder, and salt in a large bowl.
In a separate bowl, whisk together buttermilk, oil, egg, and vanilla. Add to the dry ingredients and stir until just combined.
Slowly whisk in the hot coffee until the batter is smooth and thin.
Pour batter into the pan and bake for 25–30 minutes or until a toothpick comes out clean. Cool completely.
Make the buttercream: Beat softened butter until creamy. Gradually add powdered sugar, then mix in vanilla and heavy cream until fluffy.
Crumble the cooled cake into a large bowl. Add ¾ cup buttercream and mix until dough-like.
Roll into 1–2 tablespoon-sized balls and place on a parchment-lined baking sheet. Chill for 1 hour.
Melt white candy melts according to package instructions. Reserve 2 ounces to tint blue later.
Dip the tip of each stick into melted candy and insert halfway into cake balls. Dip each pop fully into the coating, tap off excess, and set upright to harden.
Tint reserved white candy with blue food coloring. Pipe or spoon a blue circle in the center of each cake pop for the iris.
Melt chocolate chips and pipe a small black dot in the center of the iris to form the pupil.
Melt red candy melts and pipe thin lines outward from the center to mimic blood vessels.
Let decorations set at room temperature for about 1 hour before serving or packaging.
Notes
You can use a boxed cake mix instead of homemade to save time.
Let cake balls sit out for a few minutes before dipping to prevent cracking.
Use different candy melt colors for alternative themes.
Store at room temperature in an airtight container for best texture.
Decorations can be customized for non-Halloween themes as well.


