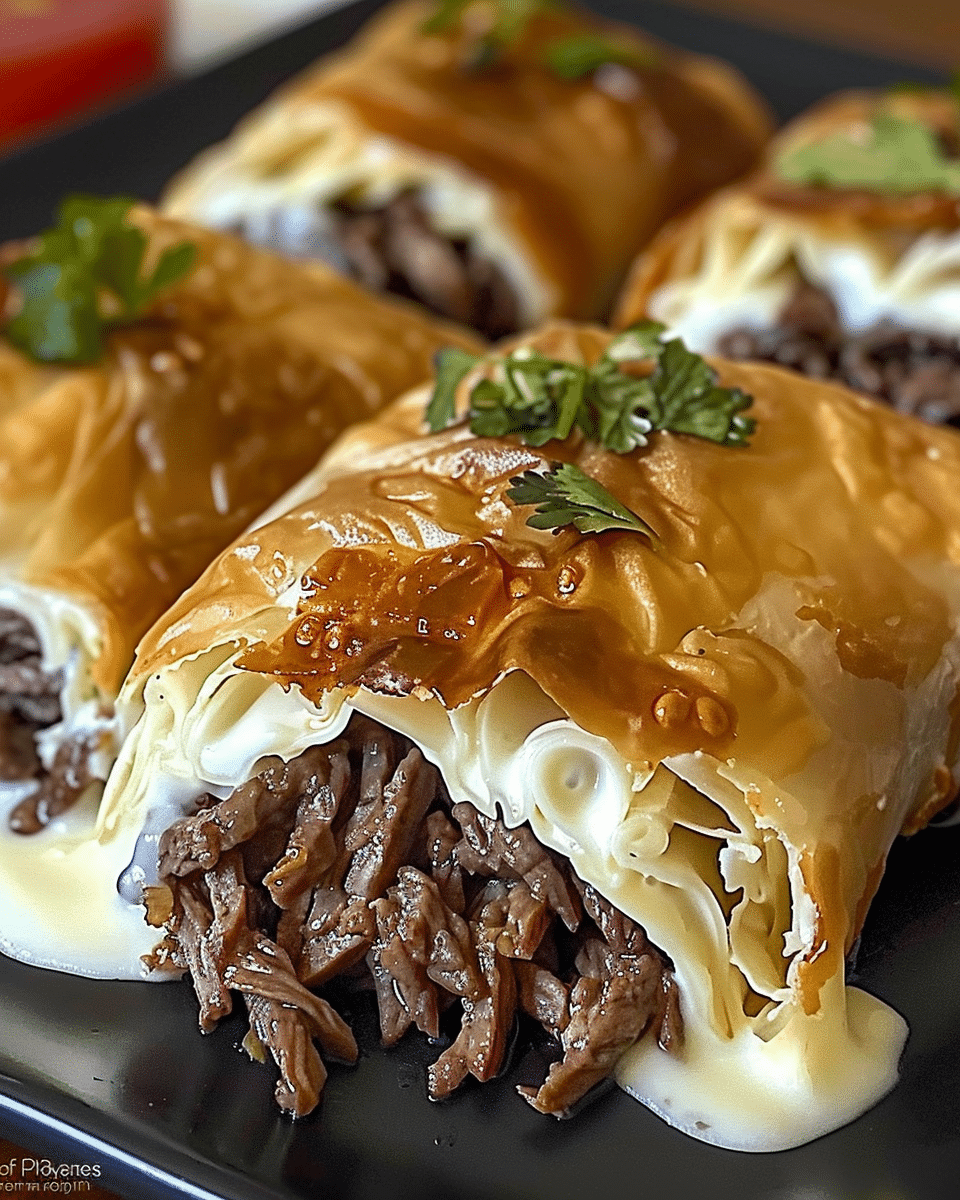
Golden, crispy on the outside, and irresistibly cheesy and savory inside—these Crunchy Beef Cheese Wraps are one of my favorite go-to meals when I’m craving something comforting but quick. With spiced ground beef, melty cheese, and buttery toasted tortillas, this recipe brings the satisfaction of a fast-food-style crunch wrap into my home kitchen—without the deep fryer. Every bite delivers bold flavor and a satisfying crunch, making these wraps a total crowd-pleaser for dinner, lunch, or even game day.
Why You’ll Love This Recipe
I love this recipe because it hits all the right notes—crispy, cheesy, savory, and just a little spicy. It’s a simple way to make something fun and different using ingredients I usually already have in my kitchen. The prep is fast, the bake is hands-off, and the results are restaurant-quality. Plus, it’s versatile enough to adapt to what I have on hand, whether I want to swap out the protein or add extra heat.
Ingredients
(Here’s a tip: Check out the full list of ingredients and measurements in the recipe card below.)
¼ cup melted unsalted butter or neutral oil (for brushing tortillas)
Optional For Serving
Sour cream
Salsa or hot sauce
Fresh chopped cilantro
Lime wedges
Directions
Preheat the oven to 400°F (200°C) and line a large baking sheet with parchment paper or lightly grease it with oil to prevent sticking.
In a large skillet over medium heat, cook the ground beef, stirring and breaking it apart with a spoon, until browned and fully cooked through—about 6–8 minutes.
Add the diced onion and minced garlic to the skillet. Cook for another 2–3 minutes until the onion softens and becomes translucent.
Sprinkle in the taco seasoning and pour in the water. Stir well to combine, then let the mixture simmer for about 3 minutes or until slightly thickened. Remove from heat and allow it to cool for 5 minutes.
Stir in the shredded cheddar and Monterey Jack cheeses directly into the warm beef mixture. Mix until the cheese melts slightly and the filling holds together.
Warm the tortillas in the microwave (30 seconds covered with a damp paper towel) or in a dry skillet so they’re pliable and easier to fold without tearing.
Place about ½ cup of the beef and cheese filling in the center of each tortilla. Fold the sides inward, then roll the tortilla tightly from the bottom to form a sealed wrap.
Arrange the wraps seam-side down on the prepared baking sheet. Brush each wrap all over with melted butter or oil to ensure a golden, crispy finish.
Bake for 20–25 minutes, flipping them halfway through for even browning, until the wraps are crisp and golden on all sides.
Serve hot, garnished with sour cream, salsa, and fresh cilantro, if desired.
Servings And Timing
Servings: Makes 6 wraps (1 per person)
Preparation Time: 20 minutes
Cooking Time: 25 minutes
Total Time: 45 minutes
Variations
Switch The Protein: I sometimes use ground turkey, shredded rotisserie chicken, or even black beans for a meatless version.
Add Spice: When I want heat, I toss in chopped jalapeños or a pinch of cayenne pepper to the beef mixture.
Make It Creamy: A spoonful of cream cheese or sour cream stirred into the filling adds richness and helps everything stick together.
Try Other Cheeses: Pepper Jack adds a spicy twist, or I go for a Mexican cheese blend when I want extra meltiness.
Go Breakfast Style: Scrambled eggs, crumbled breakfast sausage, and cheese turn this into a hearty morning wrap.
Storage/Reheating
Refrigerator: Once cooled, I store leftover wraps in an airtight container in the fridge for up to 2 days.
Freezer: I wrap them individually in foil and freeze for up to 3 months. Great for meal prep!
Reheating: For best results, I reheat in the oven at 350°F (175°C) for 8–10 minutes, or in an air fryer for maximum crunch. I avoid microwaving because it softens the tortilla.
FAQs
Can I Make These Ahead Of Time?
Yes, I often assemble them a few hours before baking and refrigerate. I just add a few more minutes in the oven if they go in cold.
What’s The Best Way To Keep Them Crispy?
Brushing the outside with butter or oil before baking is key. I also flip them halfway through the bake for even crisping on both sides.
Can I Use Corn Tortillas Instead Of Flour?
I don’t recommend it for this recipe—they tend to crack and don’t wrap as easily. Flour tortillas hold everything in and crisp up better in the oven.
What Other Toppings Can I Add?
I like to top mine with avocado slices, diced tomatoes, shredded lettuce, or a drizzle of spicy mayo. It adds freshness and flavor.
Can I Make A Vegetarian Version?
Absolutely. I use seasoned black beans, sautéed bell peppers, corn, and extra cheese for a hearty meat-free wrap that’s still full of flavor.
Conclusion
These Crunchy Beef Cheese Wraps have earned a permanent spot in my dinner rotation. They’re quick, satisfying, and packed with melty, savory goodness. Whether I’m feeding my family or meal-prepping for the week, I know I can rely on this recipe for a delicious, no-fuss meal with amazing texture and flavor.
Crunchy Beef Cheese Wraps are golden, crispy flour tortillas filled with seasoned beef, melted cheese, and savory spices. Baked to perfection, these wraps are a delicious, mess-free alternative to fried crunch wraps—perfect for quick dinners, lunches, or game-day snacks.


