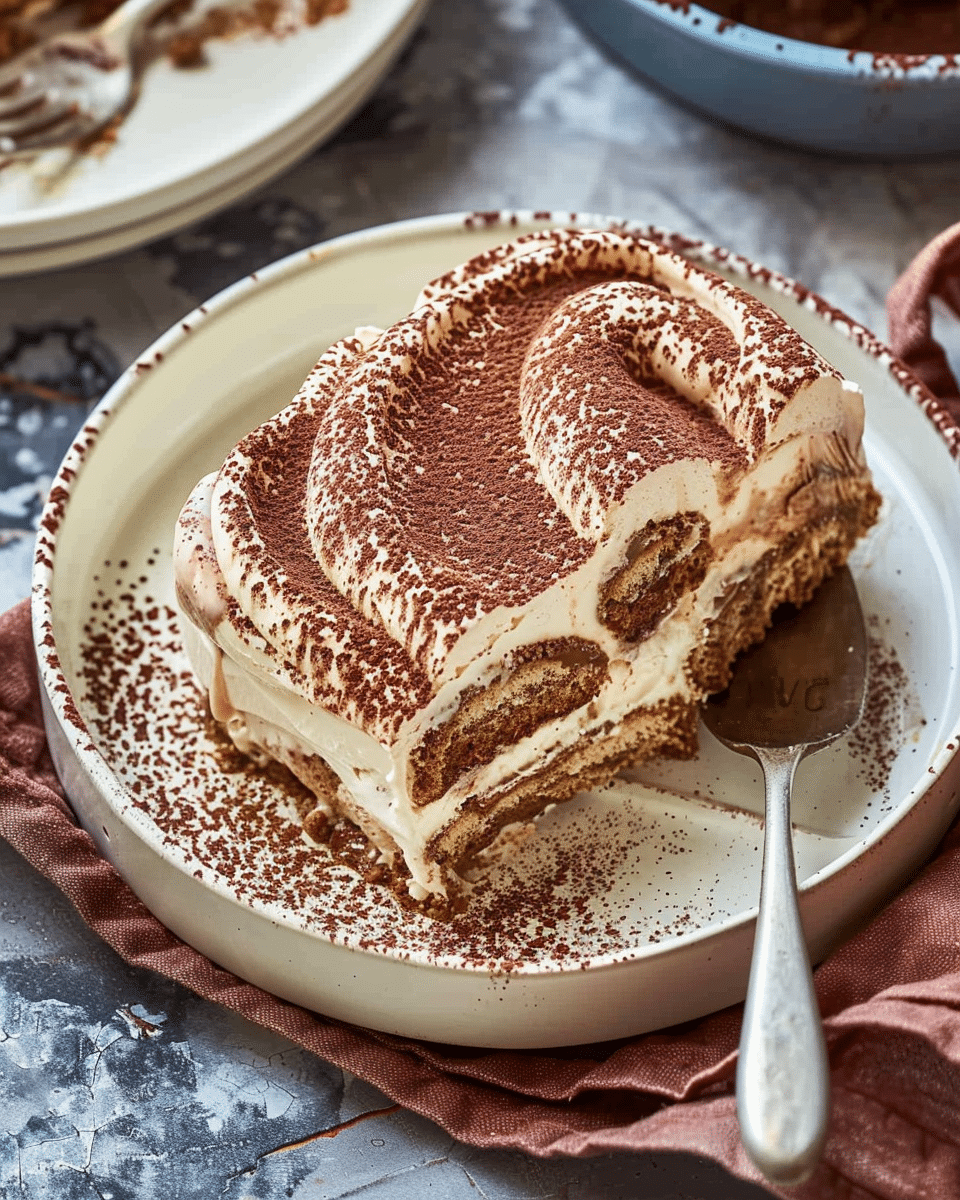
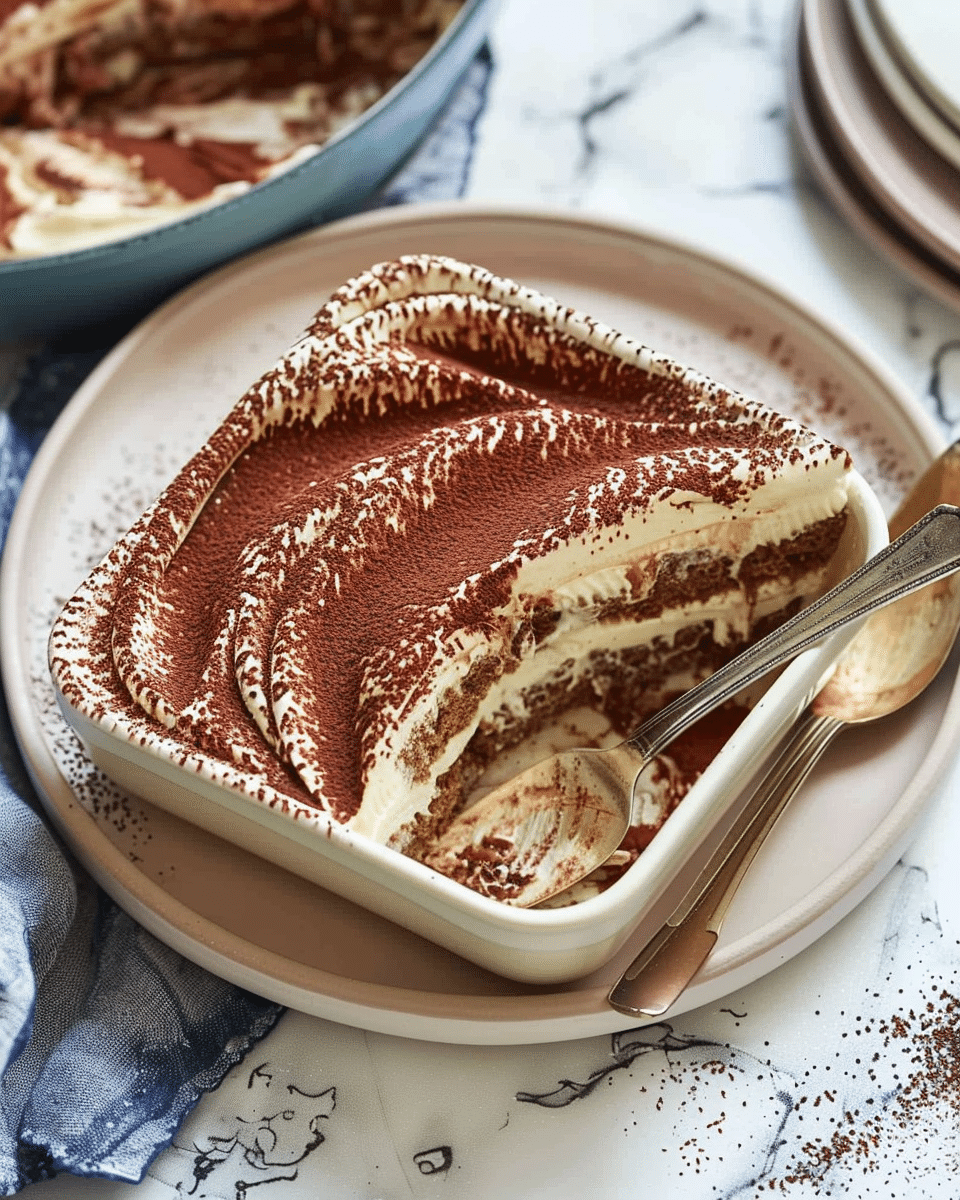
This Classic Italian Tiramisu is a timeless Italian dessert layered with espresso-soaked ladyfingers and a creamy mascarpone filling. It’s light, decadent, and the perfect make-ahead treat for any gathering.
Why You’ll Love This Recipe
I love how simple yet impressive this tiramisu is. It comes together without baking, and the mascarpone cream paired with espresso creates a balance of richness and bold flavor. I especially like that I can make it ahead of time, which allows the flavors to deepen overnight. When I serve it at dinner parties, everyone always asks for seconds, and I never feel rushed since it requires minimal prep.
Ingredients
(Here’s a tip: Check out the full list of ingredients and measurements in the recipe card below.)
-
Dutch processed cocoa powder
-
Freshly brewed espresso (I sometimes add a splash of dark rum for extra flavor)
-
Vanilla extract
-
Egg yolks (I use pasteurized for safety)
-
White sugar
-
Kosher salt
-
Mascarpone cheese
-
Heavy cream
-
Hard ladyfinger cookies
Directions
-
I whisk together cocoa powder, espresso, and vanilla in a bowl and set it aside so the flavors can blend.
-
In a stand mixer, I beat the egg yolks and sugar until pale and thick, which takes about 5 minutes.
-
I add salt and mascarpone, whipping until smooth and creamy.
-
Next, I fold in chilled heavy cream and beat until soft peaks form.
-
I quickly dunk each ladyfinger into the espresso mixture and line them in my baking dish.
-
I spread half of the mascarpone mixture over the cookies and dust with cocoa powder.
-
I repeat the layers, finishing with cocoa powder on top.
-
I cover the dish and chill it for at least 2 hours before serving so the flavors can set.
Servings and timing
This recipe makes enough for 10 servings. It takes about 20 minutes to prepare, with no baking required. I recommend chilling it for a minimum of 2 hours, but I often let it sit overnight for the best results.
Variations
I sometimes add a few tablespoons of dark rum or coffee liqueur to the espresso mixture for an adult twist. If I don’t have espresso, I use strong brewed coffee. For a lighter version, I reduce the mascarpone slightly and fold in more whipped cream.
storage/reheating
I keep tiramisu covered with plastic wrap in the refrigerator for up to 3–4 days. I find it tastes even better the next day as the layers meld together. I don’t recommend freezing it since the texture doesn’t hold up well after thawing.
FAQs
Can I make tiramisu without alcohol?
Yes, I often skip the rum and just use espresso or coffee. It’s still delicious.
What can I use instead of mascarpone cheese?
I don’t substitute mascarpone, as it’s essential for the authentic flavor. Cream cheese won’t give the same result.
Can I make tiramisu in advance?
Yes, I like making it the night before. The flavors develop beautifully overnight.
How do I prevent ladyfingers from getting soggy?
I dip each cookie for only 1–2 seconds in espresso. A quick dunk keeps them firm but flavorful.
Can I use instant coffee instead of espresso?
Yes, I dissolve instant coffee in hot water when I don’t have espresso on hand. It works well in a pinch.
Conclusion
Classic Italian Tiramisu is a dessert I love making for special occasions and casual gatherings alike. It’s elegant yet incredibly easy to prepare, and it always impresses. The creamy mascarpone layers paired with espresso-soaked ladyfingers create a dessert that feels both indulgent and light, making it a recipe I’ll return to again and again.
Classic Italian Tiramisu
5 Stars 4 Stars 3 Stars 2 Stars 1 Star
No reviews
- Author: Yusraa
- Total Time: 20 minutes (+2 hours chilling)
- Yield: 10 servings
- Diet: Vegetarian
Description
A classic Italian tiramisu made with espresso-soaked ladyfingers layered with creamy mascarpone filling and dusted with cocoa powder. A no-bake dessert that’s light, decadent, and perfect for making ahead.
Ingredients
- 2 tablespoons Dutch processed cocoa powder (plus more for dusting)
- 1 1/2 cups freshly brewed espresso (optional: add 2–3 tablespoons dark rum or coffee liqueur)
- 1 teaspoon vanilla extract
- 6 large egg yolks (pasteurized)
- 3/4 cup white sugar
- 1/4 teaspoon kosher salt
- 16 oz mascarpone cheese
- 1 cup heavy cream, chilled
- 40–45 hard ladyfinger cookies
Instructions
- In a shallow bowl, whisk together cocoa powder, espresso, and vanilla. Set aside.
- In a stand mixer, beat egg yolks and sugar on high until pale and thick (about 5 minutes).
- Add salt and mascarpone, beating until smooth and creamy.
- In a separate bowl, whip heavy cream to soft peaks. Fold into mascarpone mixture until combined.
- Quickly dip each ladyfinger into espresso mixture (1–2 seconds each) and line them in the bottom of a baking dish.
- Spread half of the mascarpone mixture over the ladyfingers and dust lightly with cocoa powder.
- Repeat with another layer of dipped ladyfingers and mascarpone mixture. Finish with a generous dusting of cocoa powder.
- Cover and refrigerate at least 2 hours, preferably overnight, before serving.
Notes
- Do not soak ladyfingers too long—quick dips prevent sogginess.
- Best flavor develops after chilling overnight.
- Can substitute strong brewed coffee if espresso is unavailable.
- Skip alcohol for a kid-friendly version.
- Serve cold, dusted with extra cocoa just before slicing.
- Prep Time: 20 minutes
- Cook Time: 0 minutes
- Category: Dessert
- Method: No-Bake
- Cuisine: Italian
Nutrition
- Serving Size: 1 slice (1/10 of tiramisu)
- Calories: 410
- Sugar: 24 g
- Sodium: 95 mg
- Fat: 28 g
- Saturated Fat: 17 g
- Unsaturated Fat: 9 g
- Trans Fat: 0 g
- Carbohydrates: 32 g
- Fiber: 1 g
- Protein: 7 g
- Cholesterol: 210 mg

