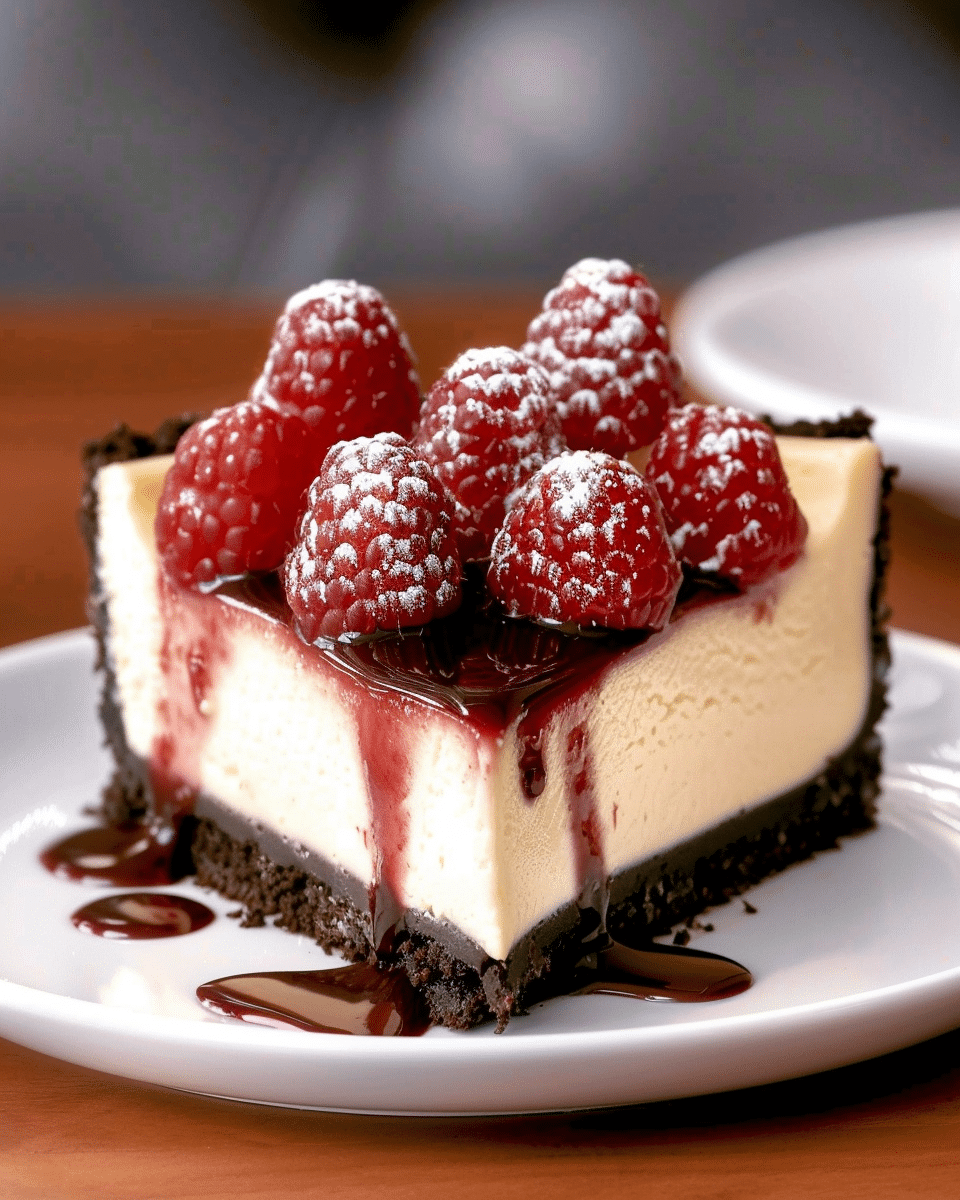
This Black Forest Cheesecake is where elegance meets rich chocolate dreams in the most irresistible way. I love how the silky chocolate filling melts in my mouth, layered over a crunchy cookie crust and finished with a tangy cherry topping and fluffy whipped cream. Every bite feels like a luxurious escape into a world of classic European dessert flavors, and it’s just as stunning to look at as it is to eat. Whether I’m serving it for a holiday dinner or a special celebration, this cheesecake always steals the spotlight.
Why You’ll Love This Recipe
I love this recipe because it strikes the perfect balance between richness and freshness. The chocolate cheesecake layer is dense and smooth, while the cherry topping cuts through with bright flavor. I also enjoy how the cookie crust adds that perfect crunch underneath all the creamy layers. Plus, it’s a make-ahead dessert, which gives me more time to relax before serving. From flavor to texture to presentation, this cheesecake delivers on all fronts.
Ingredients
(Tip: You’ll find the full list of ingredients and measurements in the recipe card below.)
For The Base
• 200 grams chocolate cookies (such as Oreo, with the cream removed) • 80 grams unsalted butter, melted
For The Chocolate Cheesecake Filling
• 500 grams cream cheese, softened to room temperature • 200 grams sour cream or full-fat strained yogurt • 180 grams dark chocolate, melted and slightly cooled • 150 grams granulated sugar • 3 large eggs • 2 tablespoons unsweetened cocoa powder • 1 teaspoon vanilla extract
For The Cherry Layer
• 300 grams cherries, fresh or frozen • 2 tablespoons granulated sugar • 1 tablespoon cornstarch • 2 tablespoons water
For The Topping
• 200 milliliters cold heavy cream • 1 tablespoon powdered sugar • Grated dark chocolate and fresh cherries, for garnish
Directions
Prepare The Base I begin by grinding the chocolate cookies into fine crumbs using a blender or food processor. Then I stir in the melted butter until the mixture resembles wet sand. I press it firmly into the base of a 22–23 centimeter springform pan, making sure it’s evenly distributed. I chill the crust in the refrigerator for 15 minutes to set.
Make The Cheesecake Filling I beat the cream cheese and sugar in a large bowl until the mixture is smooth and creamy. I add the eggs one at a time, beating well after each addition. Then I mix in the vanilla extract, cocoa powder, and sour cream until fully combined. Finally, I pour in the melted dark chocolate and stir until the batter is silky and uniform.
I pour the filling over the prepared crust and smooth the top. I preheat the oven to 160°C and use the bain-marie method by placing a dish of hot water on the bottom oven rack. This helps prevent the cheesecake from cracking. I bake the cheesecake for 50 to 60 minutes, until the edges are set but the center has a slight jiggle. Once baked, I turn off the oven and leave the door slightly open, letting the cheesecake cool slowly for 1 hour. After that, I chill it in the refrigerator for at least 4 hours, or preferably overnight.
Cook The Cherry Layer While the cheesecake is cooling, I prepare the cherry topping. I place the cherries, sugar, and water in a saucepan and heat them over medium heat until they begin to release their juices and bubble. Then I stir in the cornstarch and cook the mixture, stirring constantly, until it thickens into a glossy sauce. I let it cool completely before using it on the cheesecake.
Make The Whipped Cream In a cold mixing bowl, I whip the heavy cream with powdered sugar until soft peaks form. I stop whipping once the cream holds its shape but still looks smooth and airy.
Assemble The Cheesecake Once the cheesecake is fully chilled and set, I pour the cooled cherry topping over the surface. Then I decorate with piped or spooned whipped cream, fresh cherries, and a generous sprinkle of grated dark chocolate. For the best texture, I chill the fully assembled cheesecake for another hour before slicing and serving.
Servings And Timing
This cheesecake yields approximately 10 to 12 slices, making it ideal for a dinner party or family gathering. The active prep time is about 25 minutes, with 50 to 60 minutes of baking time. Including cooling and chilling, the total time required is around 6 to 7 hours. I always make it the day before I plan to serve it to ensure it sets perfectly overnight.
Variations
I sometimes use milk chocolate instead of dark chocolate for a milder flavor that kids especially love.
To make it gluten-free, I choose gluten-free chocolate cookies for the base.
A raspberry or strawberry topping works beautifully in place of the cherries if I want a twist on the original.
For an adult version, I stir in a tablespoon of kirsch or cherry liqueur into the cherry layer for depth.
I’ve also made this recipe in mini springform pans for individual cheesecakes, perfect for parties or gifting.
Storage/Reheating
I store leftover cheesecake in an airtight container in the refrigerator for up to 5 days. The flavor actually improves with time. For freezing, I wrap individual slices or the entire un-topped cheesecake tightly in plastic wrap and foil, then freeze for up to 1 month. When I want to serve it, I thaw it overnight in the refrigerator. I never reheat this cheesecake, as it’s meant to be served chilled.
FAQs
How Do I Prevent Cracks In The Cheesecake?
I always use the bain-marie method and avoid opening the oven during baking. Letting the cheesecake cool slowly in the oven with the door slightly open also helps keep the top smooth and crack-free.
Can I Use Frozen Cherries Instead Of Fresh?
Yes, I often use frozen cherries when fresh ones are out of season. I thaw them and drain off any excess liquid before cooking to avoid thinning the sauce.
What Type Of Chocolate Works Best?
I prefer dark chocolate with at least 70% cocoa content. It gives the cheesecake a rich, deep flavor that pairs perfectly with the cherries.
Can I Make This Cheesecake In Advance?
Absolutely. In fact, I recommend it. I usually make the cheesecake a day ahead and add the cherry and cream toppings just before serving.
Do I Need To Line The Springform Pan?
I usually line the bottom of the pan with parchment paper to make it easier to remove the cheesecake after chilling. It’s not necessary to grease the sides.
Conclusion
This Black Forest Cheesecake is the ultimate dessert when I want to impress and indulge at the same time. I love how the creamy chocolate, tart cherry, and whipped cream come together to create a balanced, unforgettable flavor. It’s elegant, rich, and guaranteed to satisfy every chocolate and cheesecake lover at the table.